
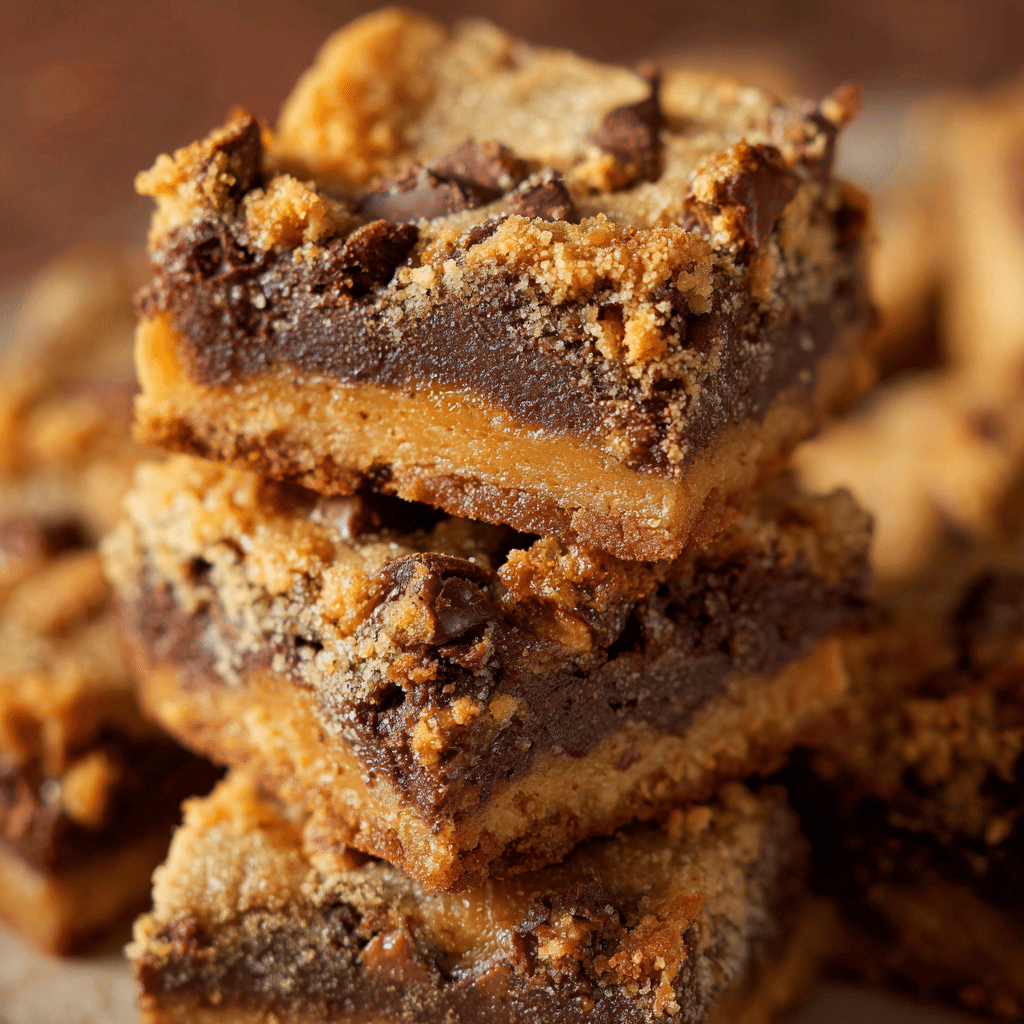
If you’ve ever craved a dessert that combines crunchy, chewy texture with rich chocolate and peanut buttery goodness, then Butterfinger Cookie Bars are about to become your new favorite treat. These luscious bars pack the irresistible flavors of classic Butterfinger candy bars into a homemade cookie bar form that’s perfect for sharing, snacking, or indulging whenever that sweet tooth calls. Easy to whip up and refreshingly satisfying, Butterfinger Cookie Bars bring together a delightful mix of textures and tastes that will keep everyone coming back for more.
Why You’ll Love This Recipe
- Perfect texture combo: Crunchy bits of Butterfinger mingle with chewy cookie dough for an unbeatable bite experience.
- Rich flavor layers: The peanut buttery and chocolate notes create a decadent and deeply satisfying flavor profile.
- Simple to make: With easy-to-find ingredients and straightforward steps, you’ll have delicious bars ready in no time.
- Great for any occasion: These bars are perfect for parties, potlucks, or a cozy night at home with coffee or milk.
- Customizable: You can easily tweak ingredients to suit your dietary preferences or add your own spin.
Ingredients You’ll Need
Gathering your ingredients for Butterfinger Cookie Bars is a breeze since each component plays a vital role in creating the perfect blend of flavor, texture, and color. From creamy peanut butter to crisp Butterfinger pieces, every ingredient ensures the bars come out irresistibly delicious.
- Butter: Unsalted butter helps create a tender yet chewy base for the cookie bars.
- Sugar blend: A combination of brown and granulated sugars provides sweetness and moisture.
- Eggs: Eggs bind all the ingredients together and contribute to the bar’s soft texture.
- Vanilla extract: Adds warm, aromatic undertones that elevate the overall flavor.
- All-purpose flour: Gives structure to the cookie bars without overpowering other flavors.
- Baking soda: Works as a leavening agent for lightness in the texture.
- Peanut butter chips: Enhance the peanut buttery richness while melting into the bars.
- Chopped Butterfinger candy: The star ingredient adds a crunchy, crispy burst of texture and that uniquely sweet peanut butter and chocolate flavor.
- Chocolate chips: Melt into pockets of smooth chocolate throughout the bars.
Variations for Butterfinger Cookie Bars
Feel free to make Butterfinger Cookie Bars your own by tweaking the ingredients or adding extra flavors. This recipe is incredibly versatile, making it easy to adapt to suit your taste buds or dietary requirements.
- Nut-free version: Swap peanut butter chips and Butterfinger pieces for nut-free chocolate candies to avoid allergens.
- Extra chocolatey: Add white chocolate chips or double the semisweet chocolate chips for more richness.
- Gluten-free option: Use a gluten-free flour blend to make the bars safe for gluten-sensitive folks.
- Salted caramel twist: Drizzle salted caramel sauce on top before baking for an added flavor punch.
- Spicy kick: Sprinkle a pinch of cayenne or chili powder into the dough for a subtle, surprising heat.

How to Make Butterfinger Cookie Bars
Step 1: Prep your pan and preheat the oven
Start by lining a 9×13-inch baking pan with parchment paper or lightly greasing it to prevent sticking. Then, preheat your oven to 350°F (175°C) to get it ready for baking the bars perfectly.
Step 2: Cream the butter and sugars
Use a mixer to beat softened butter with brown sugar and granulated sugar until the mixture is light, fluffy, and creamy. This step helps create that irresistible soft texture in the finished bars.
Step 3: Add eggs and vanilla
Mix in eggs one at a time, ensuring each is fully incorporated, then add vanilla extract for that warm, inviting aroma and flavor foundation.
Step 4: Combine the dry ingredients
In a separate bowl, whisk together all-purpose flour and baking soda. This ensures even distribution of the leavening agent for balanced rising.
Step 5: Mix dry ingredients into the wet
Gradually add the flour mixture to the wet ingredients, mixing just until combined to avoid overworking the dough and risking a tough texture.
Step 6: Fold in peanut butter chips, chocolate chips, and Butterfinger pieces
Gently fold in the peanut butter chips, chocolate chips, and chopped Butterfinger candy pieces, evenly dispersing them throughout the dough for bites packed with flavor and crunch.
Step 7: Bake and cool
Spread the dough evenly in the prepared pan and bake for 25 to 30 minutes or until golden brown and a toothpick inserted near the center comes out with just a few moist crumbs. Let it cool completely before slicing into bars.
Pro Tips for Making Butterfinger Cookie Bars
- Use room temperature butter: It ensures better mixing and a smoother dough texture.
- Don’t overmix: Stir until just combined to guarantee soft, tender bars rather than dense ones.
- Chop Butterfinger pieces evenly: Uniform pieces bake more consistently and improve the texture balance.
- Cool completely before slicing: This prevents the bars from crumbling or falling apart.
- Store in an airtight container: To keep the bars fresh and chewy for several days.
How to Serve Butterfinger Cookie Bars
Garnishes
Add a light dusting of powdered sugar or drizzle melted chocolate on top for a visually stunning and tasty finish that amps up the indulgence.
Side Dishes
Pair with a tall glass of cold milk, a robust cup of coffee, or even vanilla ice cream for a decadent dessert experience that balances the candy’s sweetness perfectly.
Creative Ways to Present
Cut the bars into bite-sized squares and serve on a festive platter with colorful napkins for parties, or stack a few bars wrapped in parchment paper tied with ribbon as charming homemade gifts.
Make Ahead and Storage
Storing Leftovers
Store Butterfinger Cookie Bars in an airtight container at room temperature for up to 4 days to maintain their freshness and chewy texture.
Freezing
Wrap individual bars tightly in plastic wrap and place them in a freezer-safe container or bag for up to 3 months. Thaw at room temperature before enjoying.
Reheating
Warm bars in the microwave for 10-15 seconds to bring back their soft, chewy goodness and make the chocolate chips melty again.
FAQs
Can I use other candy bars instead of Butterfinger?
Absolutely! While Butterfinger pieces provide a unique crunchy peanut buttery flavor, you can substitute with similar crunchy peanut and chocolate candies like Butterfinger’s alternatives or chopped peanut M&Ms for a different twist.
Are Butterfinger Cookie Bars gluten-free?
Traditional recipes use all-purpose flour, which contains gluten. To make them gluten-free, swap the flour for a gluten-free blend designed for baking.
How long do Butterfinger Cookie Bars stay fresh?
When stored properly in an airtight container at room temperature, they stay fresh for about 4 days, but refrigeration can extend this slightly at the cost of some chewiness.
Can I make these bars vegan?
To make vegan Butterfinger Cookie Bars, substitute butter with vegan margarine, egg replacements like flax eggs, and ensure the peanut butter chips and chocolate chips are dairy-free.
What’s the best way to chop Butterfinger candy for bars?
Using a sharp knife, chop the candy bars into small, even pieces to distribute evenly throughout the dough and prevent clumping or uneven texture in the bars.
Final Thoughts
Butterfinger Cookie Bars are a delectable blend of crunch, chewiness, and rich, nutty chocolate flavor that can brighten up any snack time or dessert occasion. Whether you’re looking for an easy homemade treat or a crowd-pleasing party favorite, these bars truly deliver on all fronts. Don’t wait—grab your ingredients and make a batch today to enjoy a slice of sweet happiness that’s as fun to bake as it is to eat!