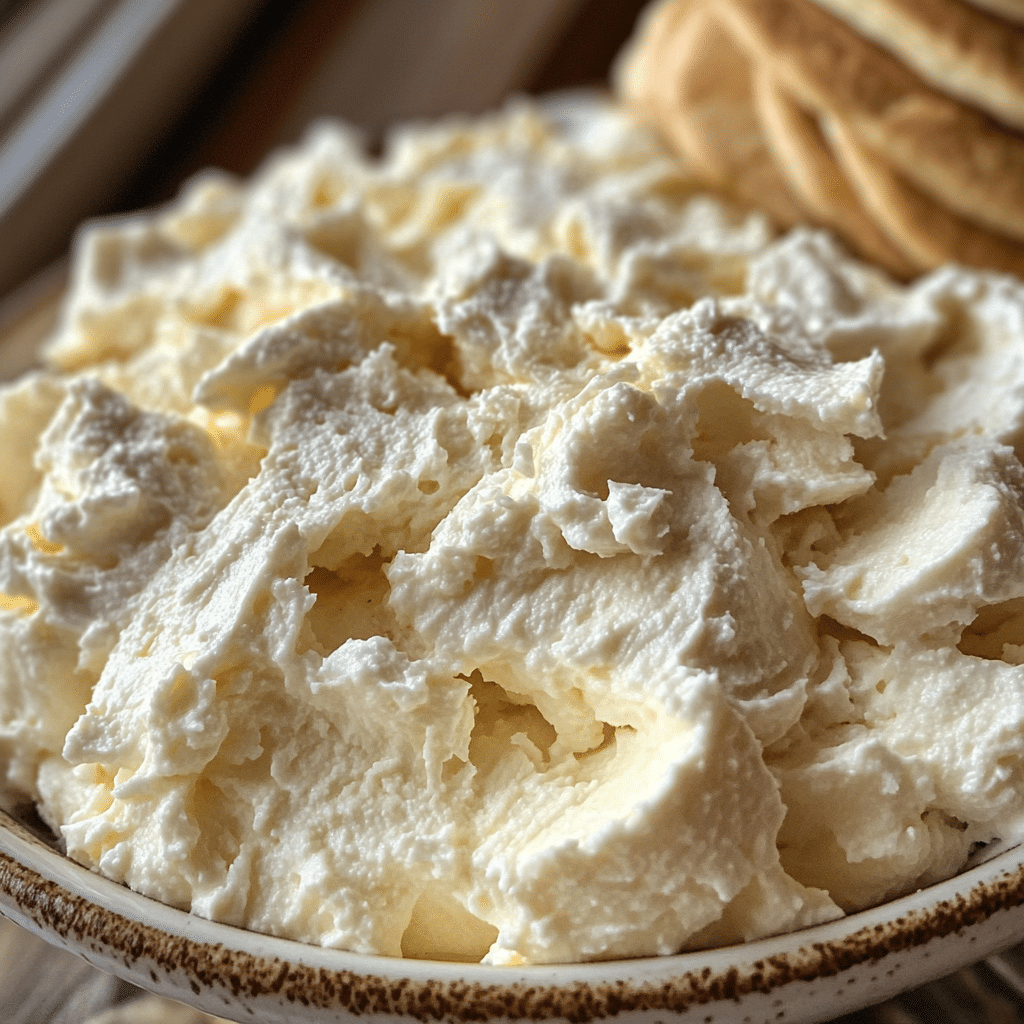
Creating homemade cream cheese at home is easier than you might think, and DIY Cream Cheese Magic is the perfect recipe for anyone looking to make their own fresh, creamy, and delicious cream cheese from scratch. With just a few simple ingredients and a bit of patience, you can enjoy the rich, velvety texture of homemade cream cheese that’s perfect for spreading on bagels, adding to recipes, or simply enjoying with crackers.
Making your own cream cheese allows you to control the flavor, texture, and quality of the ingredients, resulting in a product that’s fresher and more customizable than store-bought options. This DIY cream cheese recipe uses just whole milk, fresh lemon juice, and salt to create a smooth and tangy spread that will take your homemade dishes to the next level. Whether you’re using it in desserts, dips, or as a topping, this homemade cream cheese is a true kitchen magic that will leave you wondering why you ever bought the store version.
This simple, easy-to-follow recipe is perfect for anyone who loves experimenting in the kitchen or just wants a fresher, more authentic cream cheese option. Once you try it, you may never go back to the pre-packaged stuff again.
Why You’ll Love This Recipe
DIY Cream Cheese Magic offers a simple and straightforward way to make fresh, rich cream cheese in your own kitchen. The beauty of this recipe is its simplicity—using only a few basic ingredients, you can create a product that is creamy, smooth, and free from unnecessary additives. Fresh homemade cream cheese also has a tangy and creamy flavor that’s perfect for a variety of uses, from spreads to savory dishes and even baked goods.
Homemade cream cheese is a healthier alternative to many store-bought options, and making it yourself means you can avoid preservatives and additives. Plus, the process is fun and rewarding, allowing you to control the texture and flavor to suit your preferences. Whether you’re a seasoned cook or a beginner, this recipe is a great introduction to the world of homemade dairy products.
Disclosure: This post contains affiliate links.If you click and make a purchase, I may earn a small commission at no extra cost to you.


Ingredients
- Whole milk
- Fresh lemon juice
- Salt
Variations
- Herbed Cream Cheese: Add fresh herbs like chives, parsley, or dill to your cream cheese for a savory twist.
- Garlic and Onion Cream Cheese: Mix in roasted garlic and onion powder for a rich, flavorful spread perfect for bagels or crackers.
- Sweet Cream Cheese: Add a little vanilla extract and powdered sugar for a sweet cream cheese that works wonderfully in desserts.
- Smoked Salmon Cream Cheese: Incorporate smoked salmon, capers, and a touch of lemon zest for a creamy, flavorful spread perfect for bagels or sandwiches.
- Spicy Cream Cheese: Add a pinch of cayenne pepper or finely chopped jalapeños for a spicy kick.
How to Make the Recipe
Step 1: Heat the Milk
In a large saucepan, heat the whole milk over medium heat. Stir occasionally to prevent it from scorching, and heat it until it reaches a temperature of about 190°F (88°C). You’ll see small bubbles form around the edges of the milk, but avoid bringing it to a boil.
Step 2: Add Lemon Juice
Once the milk is heated, remove it from the heat and stir in the fresh lemon juice. The lemon juice will cause the milk to curdle and form curds. Let the mixture sit for 10-15 minutes so the curds can fully separate from the whey.
Step 3: Strain the Mixture
After the curds have formed, place a fine-mesh strainer or cheesecloth over a bowl and carefully pour the curdled milk mixture into it. Allow the curds to drain and separate from the whey for a few minutes. You can save the whey for use in smoothies or baking.
Step 4: Season with Salt
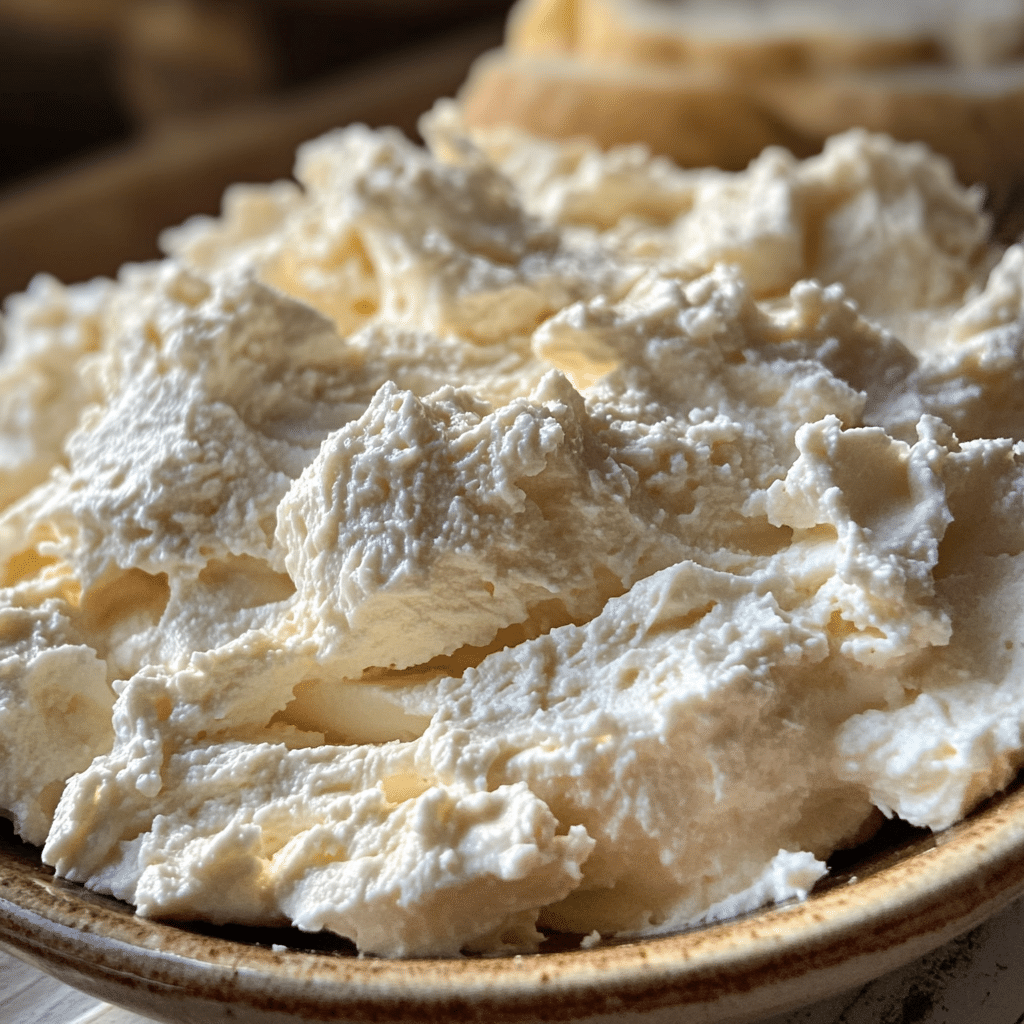
Once the curds have drained, transfer them into a bowl and stir in the salt to taste. Mix until the salt is fully incorporated and the cream cheese reaches a smooth and spreadable consistency.
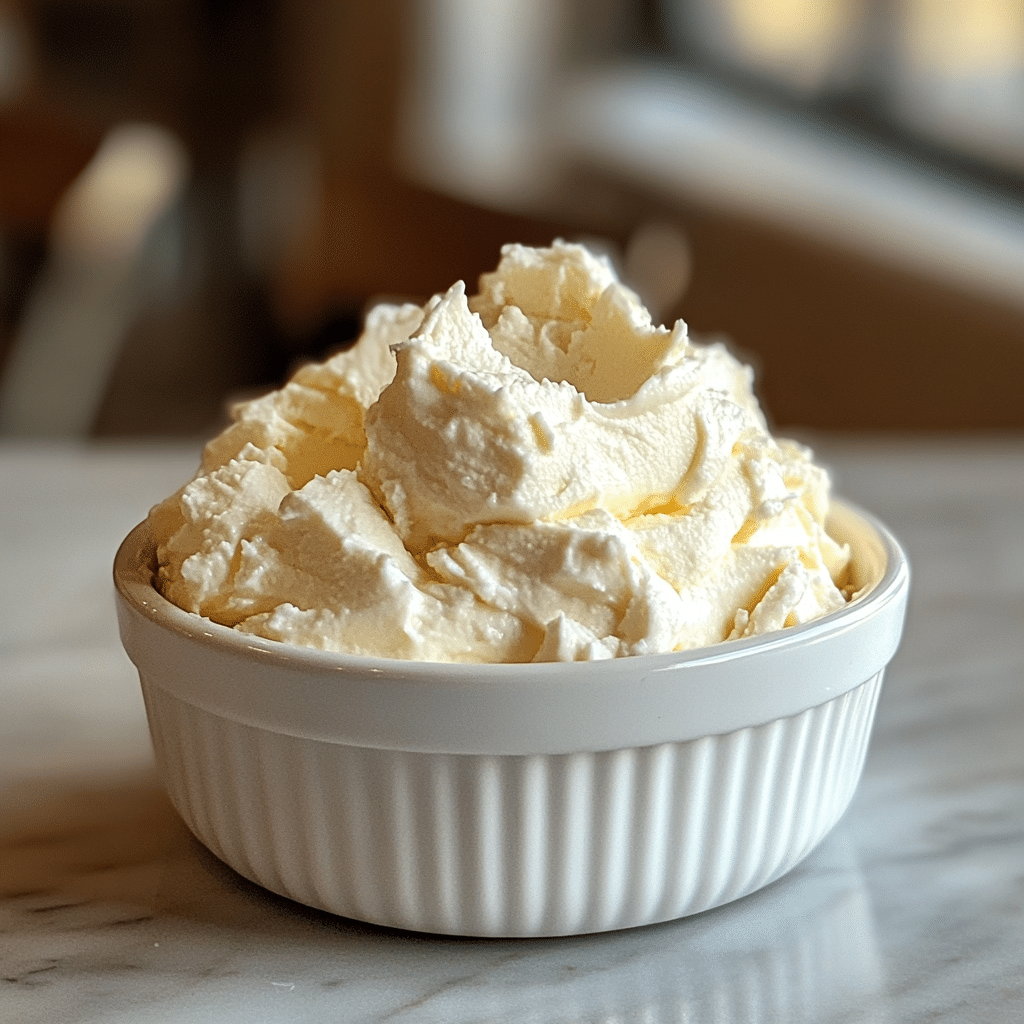
Step 5: Chill the Cream Cheese
Transfer the cream cheese to a container with a tight-fitting lid and place it in the refrigerator to chill for at least 2 hours. Chilling will help it firm up and enhance the flavor.
Step 6: Serve and Enjoy
Once chilled, your homemade cream cheese is ready to enjoy! Spread it on bagels, use it as a dip, or incorporate it into your favorite recipes.
Tips for Making the Recipe
- Make sure the milk is heated to the right temperature (190°F) for the curds to form properly. If the milk is too hot or too cold, the curds may not form correctly.
- Fresh lemon juice is important in this recipe, as it helps create the curds. If you’re in a pinch, you can use vinegar instead of lemon juice.
- The longer you let the curds sit after adding the lemon juice, the firmer your cream cheese will be. If you prefer a smoother texture, let it sit for a little less time.
- If you prefer a creamier texture, you can blend the curds in a food processor after straining to achieve a smoother consistency.
- Make sure to strain the curds well to remove as much whey as possible for a thicker, richer cream cheese.
How to Serve
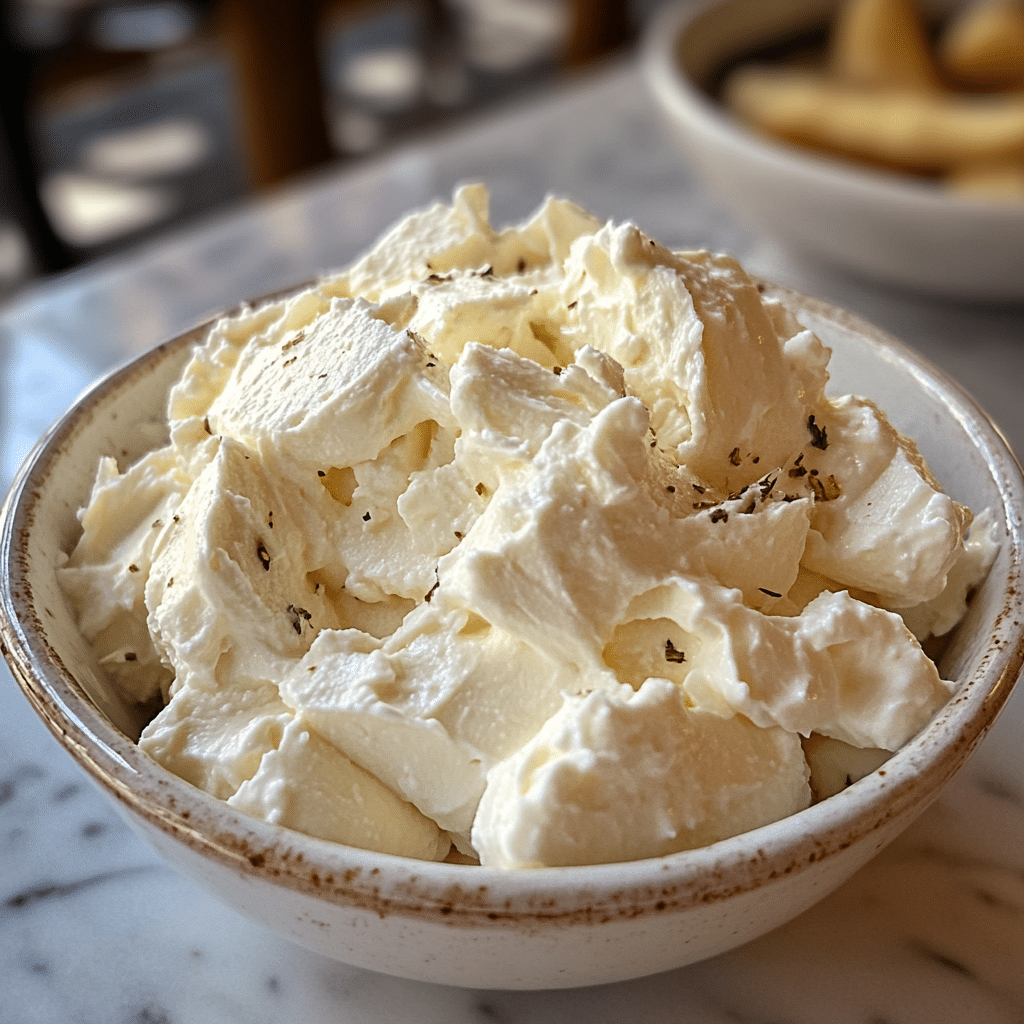
This DIY cream cheese can be served in many delicious ways. Spread it on fresh bagels, toast, or crackers for a satisfying breakfast or snack. Use it as a dip for fresh vegetables, pretzels, or pita chips. You can also incorporate it into baked goods like cheesecakes or use it as a filling for pastries. For a savory touch, serve it with smoked salmon or roasted vegetables, or use it as a creamy element in pasta dishes.
Make Ahead and Storage
Storing Leftovers
Store your homemade cream cheese in an airtight container in the refrigerator for up to one week. Make sure to keep it tightly sealed to maintain freshness.
Freezing
You can freeze homemade cream cheese for longer storage. Wrap it tightly in plastic wrap or store it in a freezer-safe container for up to 1 month. Thaw it in the refrigerator before using, and be aware that freezing may change the texture slightly, but the flavor will remain intact.
Reheating
There’s no need to reheat this cream cheese as it’s best served cold or at room temperature. Simply let it sit out for a few minutes before using if it’s too firm from being refrigerated.
FAQs
1. Can I use skim milk instead of whole milk?
Whole milk is ideal for making cream cheese as it provides a rich, creamy texture. Skim milk can be used, but the result may be less creamy.
2. Can I use vinegar instead of lemon juice?
Yes, you can substitute vinegar for lemon juice, though lemon juice will give a fresher flavor. Use about the same amount of vinegar as lemon juice.
3. Can I make flavored cream cheese with this recipe?
Absolutely! After making the base cream cheese, feel free to add fresh herbs, spices, garlic, or even sweet ingredients like honey or vanilla.
4. Can I make a larger batch?
Yes, you can double or triple the recipe. Just be sure to adjust the amount of lemon juice accordingly.
5. Can I use store-bought milk instead of fresh milk?
Fresh milk works best for this recipe. If you’re using store-bought, just make sure it is not ultra-pasteurized, as it may not curdle well.
6. What can I do with the leftover whey?
Whey can be used in smoothies, baked goods, or as a replacement for water in soups and stews.
7. How long will homemade cream cheese last?
Homemade cream cheese will last about a week when stored in an airtight container in the fridge.
8. Can I freeze homemade cream cheese?
Yes, you can freeze it for up to 1 month, but the texture may change slightly once thawed.
9. Can I add garlic or onion to the cream cheese?
Yes, you can add garlic, onion powder, or roasted garlic to the cream cheese mixture for extra flavor.
10. How do I make the cream cheese smoother?
For a smoother texture, you can blend the curds in a food processor after straining.
Conclusion
DIY Cream Cheese Magic is a fun and easy recipe that transforms simple ingredients into a creamy, tangy spread that will elevate your cooking. Homemade cream cheese offers a fresh, customizable flavor that you can tailor to your tastes, and it’s a great way to impress guests or enhance your meals. Whether you’re spreading it on toast, using it in baking, or mixing it into your favorite dishes, this homemade cream cheese will add a homemade touch to everything it touches. Try it today and experience the magic of fresh, homemade cream cheese!
Print
DIY Cream Cheese Magic
- Total Time: 25 minutes
- Yield: 1½ cups 1x
- Diet: Vegetarian
Description
This simple DIY Cream Cheese Magic recipe lets you make your own fresh cream cheese at home with just a few ingredients. With whole milk, lemon juice, and salt, you’ll create a smooth and creamy spread that’s perfect for bagels, crackers, or as a base for dips. A great way to enjoy fresh, homemade cream cheese without any preservatives.
Ingredients
- 4 cups whole milk
- 3–4 tablespoons fresh lemon juice
- ½ teaspoon salt
Instructions
- In a large saucepan, heat the whole milk over medium heat, stirring occasionally to prevent burning.
- Once the milk starts to steam and bubble gently, add the lemon juice and salt. Stir well.
- Continue to heat the mixture, stirring occasionally, until the milk begins to curdle (this usually takes about 5-10 minutes).
- Once the curds have formed, remove the saucepan from the heat and let it sit for a few minutes.
- Strain the curds through a fine-mesh sieve or cheesecloth to separate the liquid (whey) from the curds.
- Transfer the curds to a food processor or blender and blend until smooth and creamy. If the texture is too thick, you can add a bit of the whey back to achieve your desired consistency.
- Taste and adjust the salt if needed.
- Store the cream cheese in an airtight container in the refrigerator for up to 1 week.
Notes
- This recipe creates a soft and spreadable cream cheese. If you prefer a firmer texture, you can let the curds drain longer before blending.
- You can experiment with adding herbs or spices to the cream cheese for extra flavor.
- Be sure to use fresh lemon juice for the best results.
- Prep Time: 10 minutes
- Cook Time: 15 minutes
- Category: Spread
- Method: Stovetop
- Cuisine: American