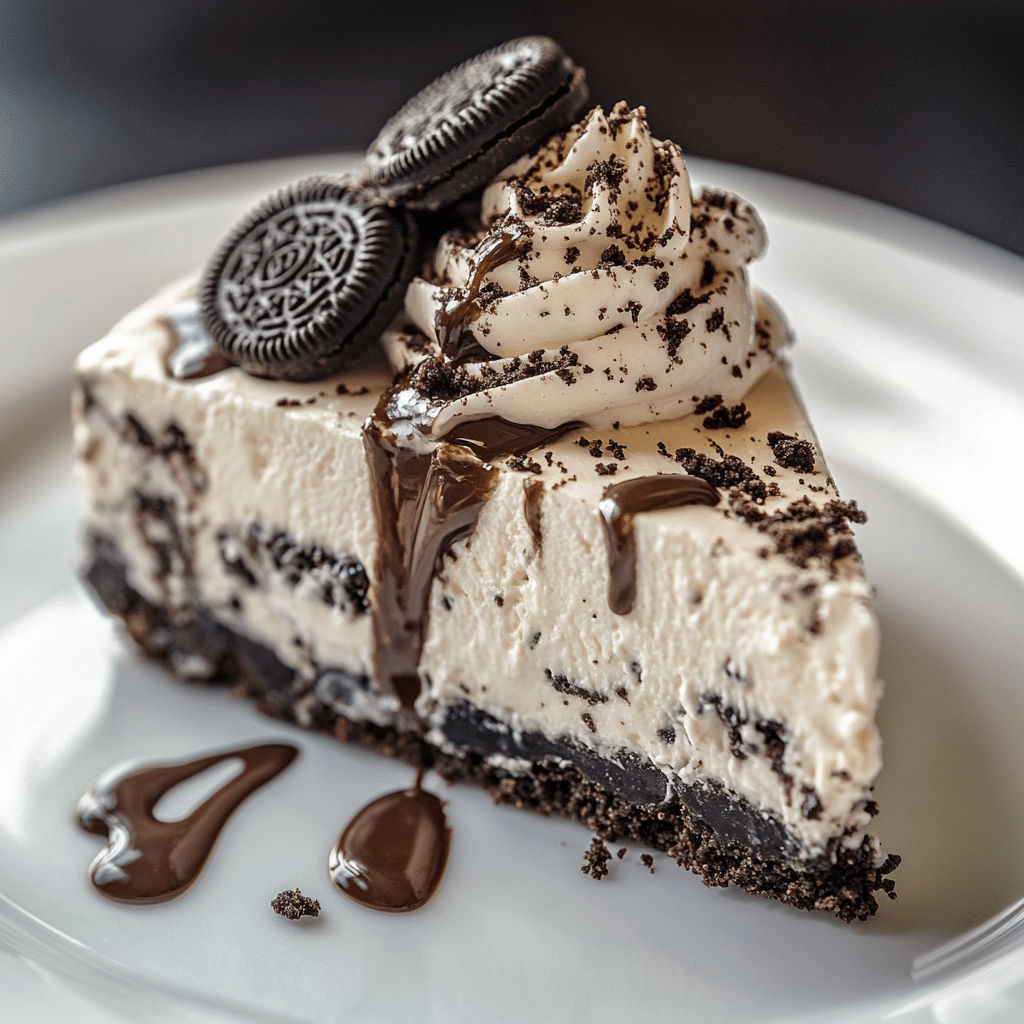
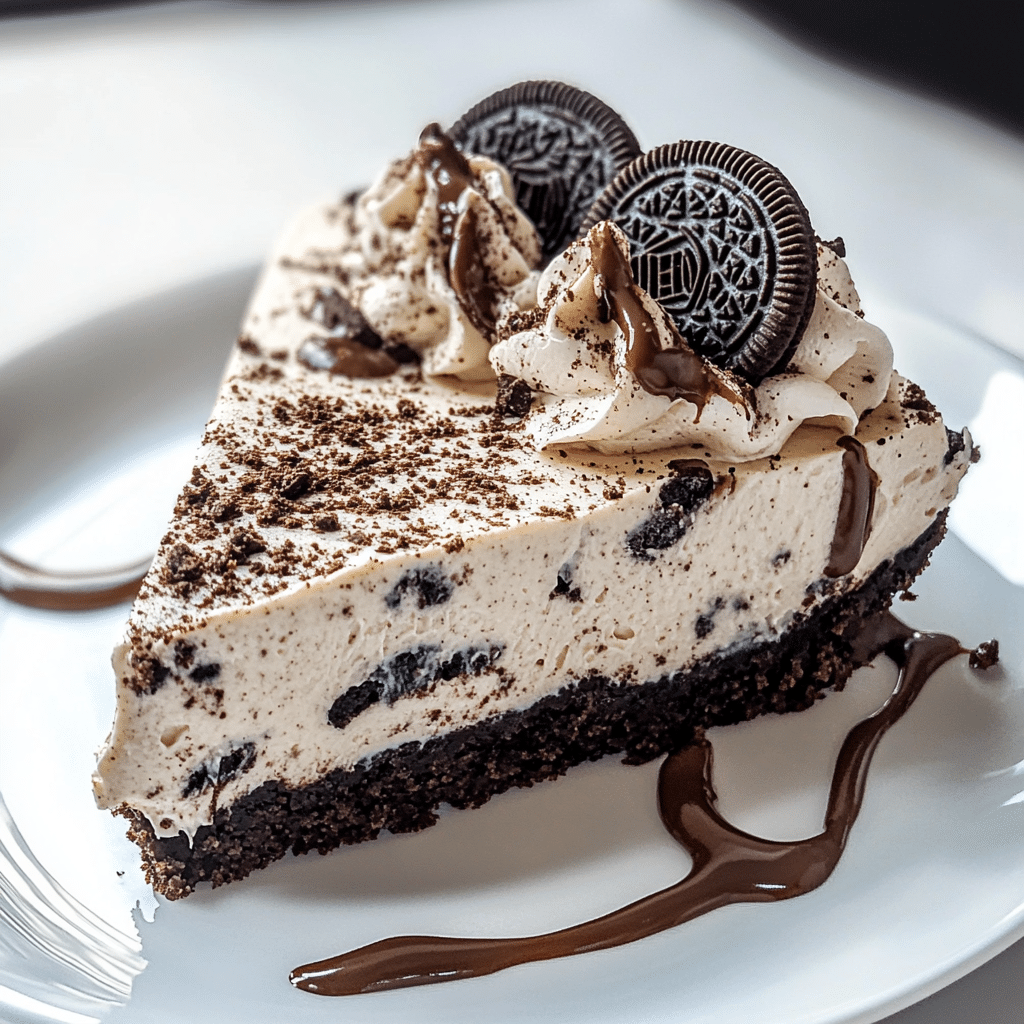
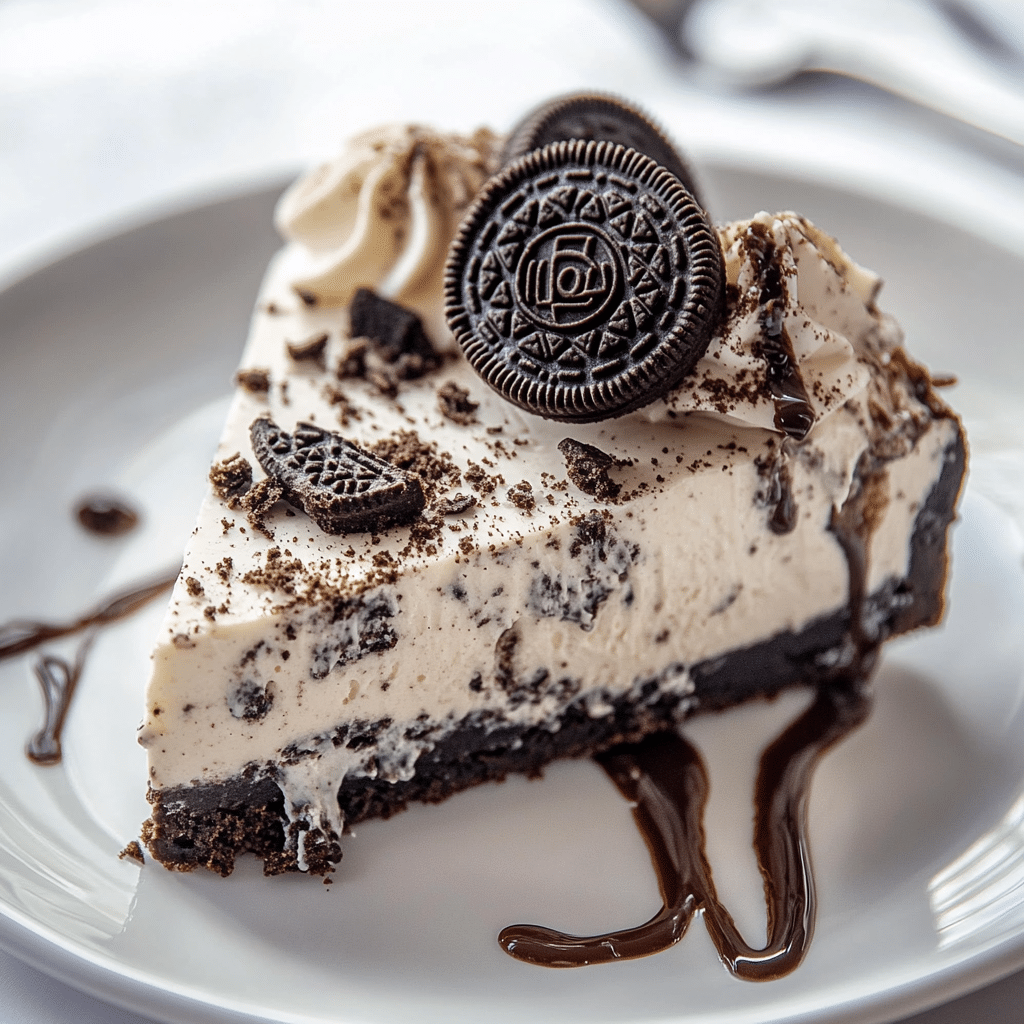
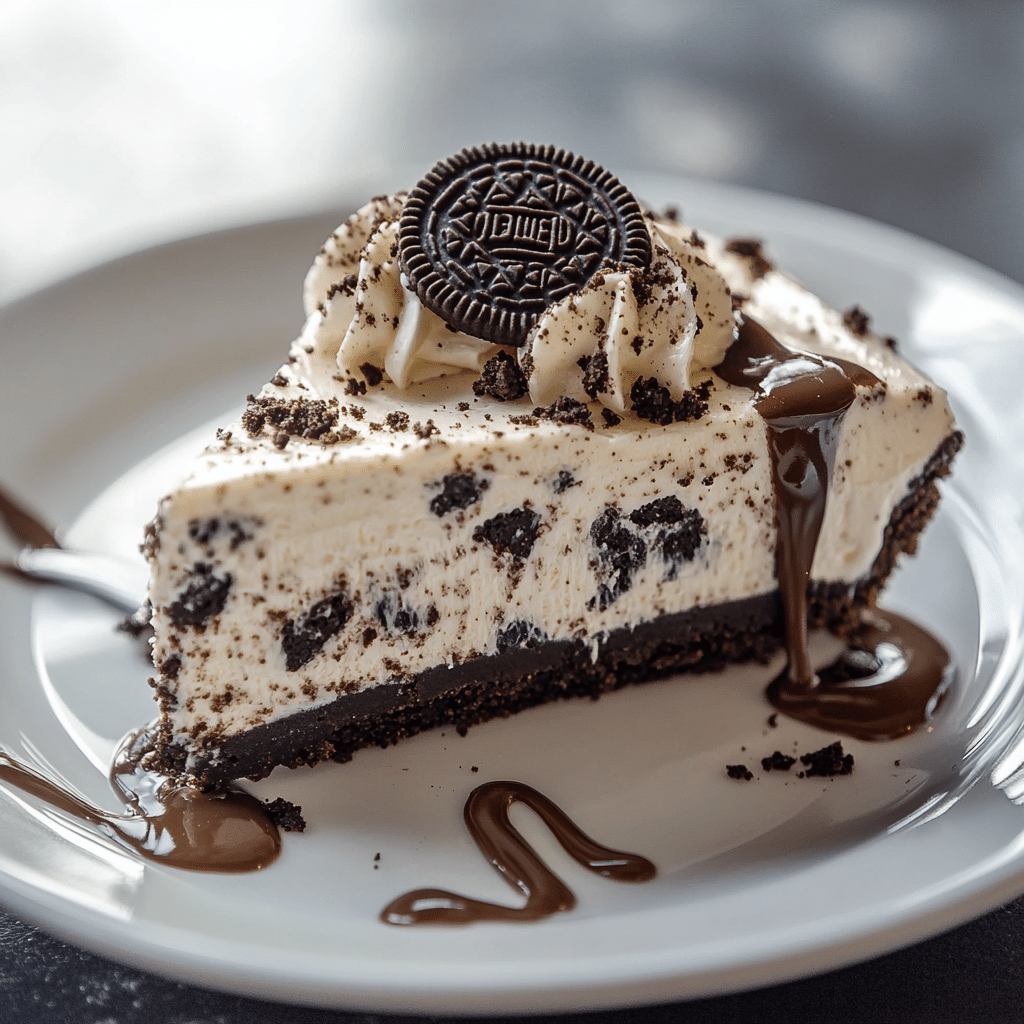
If you’re craving a sweet, indulgent dessert but don’t want to deal with the hassle of baking, this No Bake Oreo Cheesecake is the perfect solution. It’s creamy, decadent, and requires minimal effort to prepare. With a rich, velvety cream cheese filling and chunks of Oreo cookies mixed in, this cheesecake delivers a perfect balance of flavors. The Oreo crust gives the dessert an extra layer of crunch that contrasts beautifully with the smooth filling. This no-bake cheesecake is ideal for hot summer days when you want a refreshing treat without turning on the oven. It’s also a great make-ahead dessert for parties or gatherings since it only requires a few hours in the fridge to set.
The simplicity of this cheesecake makes it a must-try for anyone looking for an easy yet impressive dessert. Plus, with just a handful of ingredients, you can whip it up in no time and still wow your guests with a delicious treat. Let’s dive into how to make this irresistibly creamy Oreo cheesecake!
Why You’ll Love This Recipe
1. No-Bake Convenience
This cheesecake requires no baking, making it a quick and easy dessert to prepare without heating up your kitchen.
2. Oreo Lovers’ Dream
With chunks of Oreos mixed into the cream cheese filling and an Oreo crust, this cheesecake is the ultimate treat for Oreo lovers.
3. Creamy and Rich
The combination of cream cheese and Cool Whip creates a smooth, creamy filling that’s rich but not too heavy.
4. Perfect for Any Occasion
Whether it’s a summer gathering, holiday dinner, or casual get-together, this cheesecake is versatile and sure to impress your guests.
5. Easy to Make Ahead
You can prepare this cheesecake a day ahead of time, making it a stress-free dessert option for entertaining.
Disclosure: This post contains affiliate links.If you click and make a purchase, I may earn a small commission at no extra cost to you.

Ingredients
- 1 Oreo crust (store-bought or homemade)
- 8 ounces (226g) Challenge cream cheese, softened
- ¼ cup (50g) granulated sugar
- 1 teaspoon vanilla extract
- 1 8-ounce container of Cool Whip (plus more for garnish)
- 10 Oreos (divided)
Variations
Add Chocolate Drizzle
For an extra indulgent touch, drizzle some melted chocolate over the top before serving. You can use milk chocolate, dark chocolate, or even white chocolate for a different flavor.
Make It Mint Oreo
If you love the mint flavor of Oreos, use mint-flavored Oreos instead of regular ones. This adds a refreshing twist to the cheesecake.
Add Fruit Topping
Top the cheesecake with fresh fruit, such as berries or sliced bananas, for a fresh contrast to the creamy filling.
Try a Peanut Butter Swirl
Mix some peanut butter into the cheesecake filling for a delicious peanut butter Oreo cheesecake variation. Just swirl it into the cream cheese mixture before adding the Cool Whip.
How to Make the Recipe
Step 1: Prepare the Oreos
Crush 8 of the Oreos into small pieces. You can do this by placing them in a sealed plastic bag and using a rolling pin or by pulsing them in a food processor. Set them aside.
Step 2: Beat the Cream Cheese
In a large mixing bowl, beat the softened cream cheese with an electric mixer on medium speed until smooth and creamy. Add the granulated sugar and vanilla extract, and continue mixing until fully combined.
Step 3: Add the Cool Whip
Fold the Cool Whip into the cream cheese mixture until well combined. Be careful not to deflate the Cool Whip too much – the goal is to keep the filling light and fluffy.
Step 4: Incorporate the Oreos
Add the crushed Oreos (from Step 1) to the mixture and gently fold them in, ensuring the pieces are evenly distributed throughout the filling.
Step 5: Assemble the Cheesecake
Spoon the Oreo cheesecake mixture into the prepared Oreo crust, spreading it evenly. Smooth the top with a spatula.
Step 6: Refrigerate
Refrigerate the cheesecake for at least 4 hours, or overnight, to allow it to set properly.
Step 7: Garnish and Serve
Before serving, garnish the cheesecake with additional crushed Oreos and extra Cool Whip, if desired. Slice, serve, and enjoy!
Tips for Making the Recipe
- Use Softened Cream Cheese: Make sure your cream cheese is softened to room temperature to ensure the filling is smooth and creamy.
- Chill Long Enough: Don’t skip the refrigeration time. The cheesecake needs time to set, so make sure it stays in the fridge for at least 4 hours, or preferably overnight.
- Crush Oreos Well: Ensure the Oreos are crushed finely enough so that they integrate well into the cheesecake filling. You can also leave some larger chunks for added texture.
- Make it Extra Creamy: For an even creamier texture, substitute half of the Cool Whip with whipped cream. This will make the filling lighter and fluffier.
How to Serve
This No Bake Oreo Cheesecake can be served as-is or topped with a variety of garnishes. Serve it chilled as a refreshing, rich dessert after dinner or alongside a cup of coffee or tea. If you’re hosting a gathering, consider offering fresh fruit toppings like berries, or drizzle some chocolate sauce for extra indulgence.
Make Ahead and Storage
Storing Leftovers
Store any leftover cheesecake in an airtight container in the refrigerator. It will stay fresh for up to 3 days. Be sure to cover it with plastic wrap or foil to keep it from drying out.
Freezing
If you want to store the cheesecake for a longer period, you can freeze it. After it has set, wrap it tightly in plastic wrap and then in aluminum foil. It can be frozen for up to 2 months. Thaw it in the refrigerator overnight before serving.
Reheating
There’s no need to reheat a no-bake cheesecake! Serve it chilled directly from the fridge.
FAQs
1. Can I use a different crust for this cheesecake?
Yes, you can use a graham cracker crust or any other cookie crust of your choice, though the Oreo crust adds an extra layer of flavor.
2. Can I substitute regular whipped cream for Cool Whip?
Yes, you can use homemade whipped cream instead of Cool Whip. Just make sure it is stiff enough to hold its shape when mixed into the filling.
3. How long do I need to refrigerate the cheesecake?
For best results, refrigerate the cheesecake for at least 4 hours or overnight to ensure it sets properly.
4. Can I make this cheesecake ahead of time?
Absolutely! This cheesecake can be made a day or two in advance, which makes it perfect for busy schedules or entertaining.
5. Can I add more Oreos to the filling?
Yes, feel free to add more crushed Oreos for a more intense Oreo flavor throughout the cheesecake.
6. Is this cheesecake gluten-free?
The cheesecake is not gluten-free as it uses an Oreo crust. If you need a gluten-free version, use a gluten-free cookie crust and ensure that the other ingredients are gluten-free.
7. Can I freeze the cheesecake?
Yes, you can freeze this cheesecake. Wrap it tightly in plastic wrap and aluminum foil and store it in the freezer for up to 2 months.
8. Can I use a different type of cookie for the crust?
Yes, you can experiment with other cookies like chocolate chip cookies or graham crackers for the crust.
9. Can I make this cheesecake without the crust?
Yes, you can make a crustless version of this cheesecake and serve it in a bowl for a fun, deconstructed dessert.
10. How can I make the cheesecake more chocolatey?
For a more chocolatey flavor, you can add chocolate chips to the filling or use a chocolate Oreo crust.
Conclusion
This No Bake Oreo Cheesecake is a simple, no-fuss dessert that combines the irresistible flavors of Oreos, cream cheese, and Cool Whip. It’s perfect for any occasion and easy enough to whip up in no time. With its creamy texture, crunchy crust, and indulgent flavor, it’s sure to be a hit at your next gathering. Try this recipe and enjoy a dessert that’s as easy to make as it is delicious!
Print
No Bake Oreo Cheesecake Recipe
- Total Time: 4 hours 10 minutes
- Yield: 8 servings 1x
- Diet: Vegetarian
Description
This No Bake Oreo Cheesecake is the ultimate dessert for Oreo lovers! With a creamy filling made from cream cheese and Cool Whip, set in a ready-made Oreo crust, this easy no-bake cheesecake is perfect for any occasion. Simply mix, chill, and enjoy!
Ingredients
-
1 Oreo crust (store-bought or homemade)
-
8 ounces (226g) Challenge cream cheese, softened
-
¼ cup (50g) granulated sugar
-
1 teaspoon vanilla
-
1 8-ounce container Cool Whip (plus more for garnish)
-
10 Oreos, divided (some for the filling, some for garnish)
Instructions
-
In a large mixing bowl, beat the softened cream cheese and granulated sugar together until smooth and creamy.
-
Add the vanilla extract and continue mixing until well incorporated.
-
Gently fold in the Cool Whip until the mixture is fully combined and smooth.
-
Coarsely crush 5 Oreos and fold them into the cheesecake mixture.
-
Spoon the cheesecake mixture into the Oreo crust and spread it out evenly.
-
Crush the remaining 5 Oreos and sprinkle them over the top of the cheesecake for garnish.
-
Refrigerate the cheesecake for at least 4 hours, or until fully set.
- Garnish with extra Cool Whip and serve chilled.
Notes
-
If you don’t have a store-bought Oreo crust, you can easily make one by crushing about 20 Oreos and mixing them with ¼ cup melted butter. Press the mixture into the bottom of a pie dish or springform pan.
- For an extra indulgent treat, drizzle chocolate syrup over the cheesecake before serving.
- Prep Time: 10 minutes
- Cook Time: 0 minutes
- Category: Dessert
- Method: No-Bake
- Cuisine: American